
Origami and a Crow
The year before last, during an origami phase, I borrowed Nick Robinson's Encyclopedia of Origami from the public library. Before I returned the book, I copied down the instructions for folding one of the figures (a bear). As origami animals go, I think the bear design works well. There is no gluing or cutting (i.e. cheating) involved, one begins with a standard square, and the figure is a pretty good likeness considering the level of difficulty (admittedly nothing compared to the moose and the squirrel on the cover of the book).
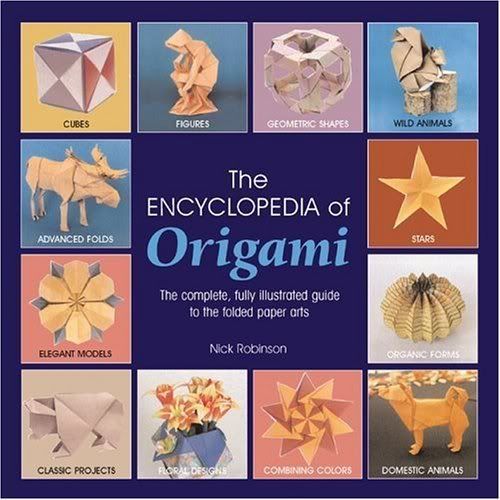
Speaking of the squirrel, I think the design for it is very cute and well done, too. I didn't attempt to fold the figure, however, because it clearly requires much care, precision, and patience. The pointed limbs, for example, are troublesome in any case; the folds must meet exactly and -- if there are too many folds -- the paper soon loses its stiffness and neatness. The clean lines of the tail and body in general are probably difficult to preserve. As for the head, it looks as if it requires sculpting rather than folding. :o/ Altogether, more than a bit above my abilities.
Anyway, here are the instructions for folding the bear. As aforementioned, the design and the original diagrams (of which mine are copies) are from the book. The instructions are also based on those in the book. As far as the diagrams are concerned, I think they follow diagramming conventions. For example, dashed lines signify valley folds, and lines with both dashes and dots represent mountain folds. In addition, you should flatten or push in points indicated by black triangles, and if an arrow has a line through it, that means that the same fold should be performed on the other side. These conventions, and several others, are covered in most origami books, and can easily be researched on the internet. Instructions for basic folds (rabbit ear folds, crimping, inside reverse folds, etc.) are also readily available.

As shown above, you should begin with a perfectly square piece of paper, and place it on a smooth surface with the coloured or patterned side down. Crease the paper so that it is divided into sixteen squares, then make diagonal creases as shown. Steps 6 and 8 are tricky. I'm not sure if the diagram is clear enough, but -- as with step 2 -- if you can just create the folds as shown without making extra ones, the desired result should fall into place. Helpful, eh? >:o) Well, it does help to look at what the result should look like.

In step 12, you should only fold the top layers of the figure, so that the bottom layers can swing around from underneath. Basically, steps 11 and 12 describe a sort of accordion fold. In steps 15 to 18, everything that is done on the bear's right side should be done on its left side, too. That is, fold both back legs forward, inside-crimp both front legs, squash-fold both ears, etc.

Voilà! A delightful little origami bear. It can stand on its own as long as you pull the feet apart a bit.
Now, on a completely unrelated note, here is a sketch of a crow that I made a while ago (based on this photo). Considering that the proportions, texture, and shading leave much to be desired, I am unreasonably pleased with it. Not unexpectedly pleased, however. I tend to take a rose-coloured view of any recent drawings of mine (unintentionally).

I actually rather like crows in principle. They may well be my favourite airborne scavengers -- mainly because they have a neat air. Seagulls, in comparison, are ungainly creatures and tend to look dirtier. Neatness aside, I also find that crows pace with more dignity and gentlemanliness than other birds (pigeons, for example). There is a definite charm in the strutting about of a crow.
Note: I hope that the seagull community will forgive my rude comments.
posted by tvhtoo @ 02:34
0 comments
![]()
![]()
0 Comments:
Post a Comment
<< Home